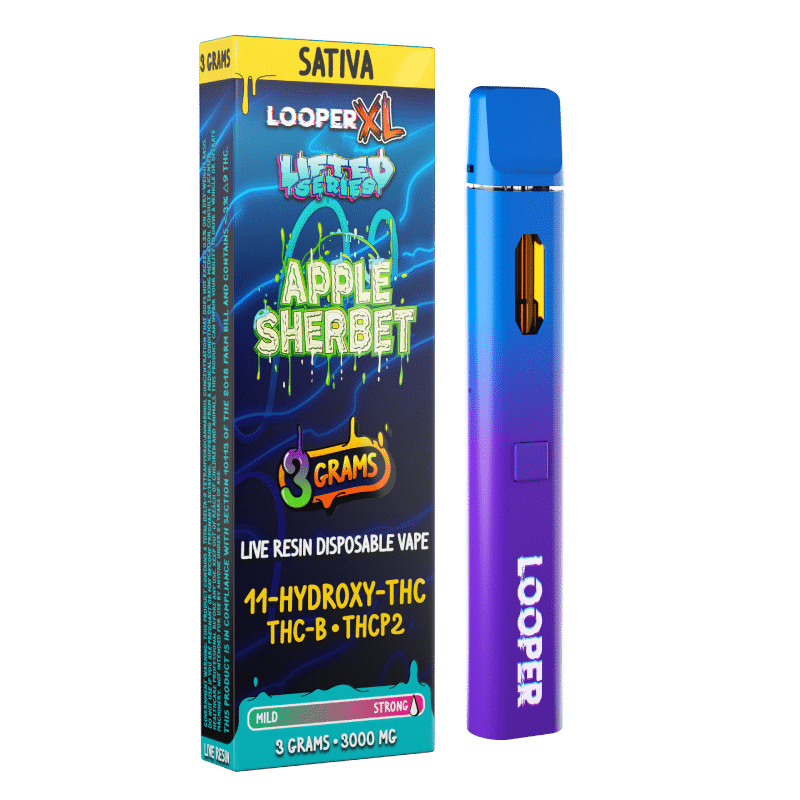
The process of making a looper cart is similar to making a rebuildable atomizer, but with some key differences:
1. Cartridge Preparation:
– The starting point is a pre-made cartridge or pod system that is designed to be rebuildable.
– This typically involves a removable or replaceable atomizer head that can accommodate a user-built coil and wick.
2. Coil Building:
– The user wraps a piece of resistance wire, such as kanthal, nichrome, or stainless steel, around a small mandrel to create a coil.
– The coil is then positioned and secured within the atomizer head.
3. Wick Preparation:
– The user prepares an absorbent wick, usually made of organic cotton, and threads it through the center of the coil.
– The wick is then trimmed to fit the dimensions of the atomizer head.
4. Cartridge Assembly:
– The atomizer head with the coil and wick is then inserted into the cartridge or pod.
– Some looper vapes may have additional components, such as adjustable airflow rings, that need to be properly installed.
5. E-Liquid Loading:
– Once the coil and wick are in place, the user can add e-liquid directly to the wick or into the tank or reservoir of the cartridge.
6. Priming and Heating:
– Before use, the user needs to prime the coil and wick by allowing the e-liquid to soak in for a few minutes.
– Then, the user can begin vaping, adjusting the wattage or temperature as needed to achieve the desired vapor production and flavor.
Looper vape offer users the ability to customize their vaping experience, including the coil, wick, and airflow, while still maintaining the convenience of a pre-made cartridge. However, they require more hands-on assembly and maintenance compared to pre-built, disposable cartridges.
